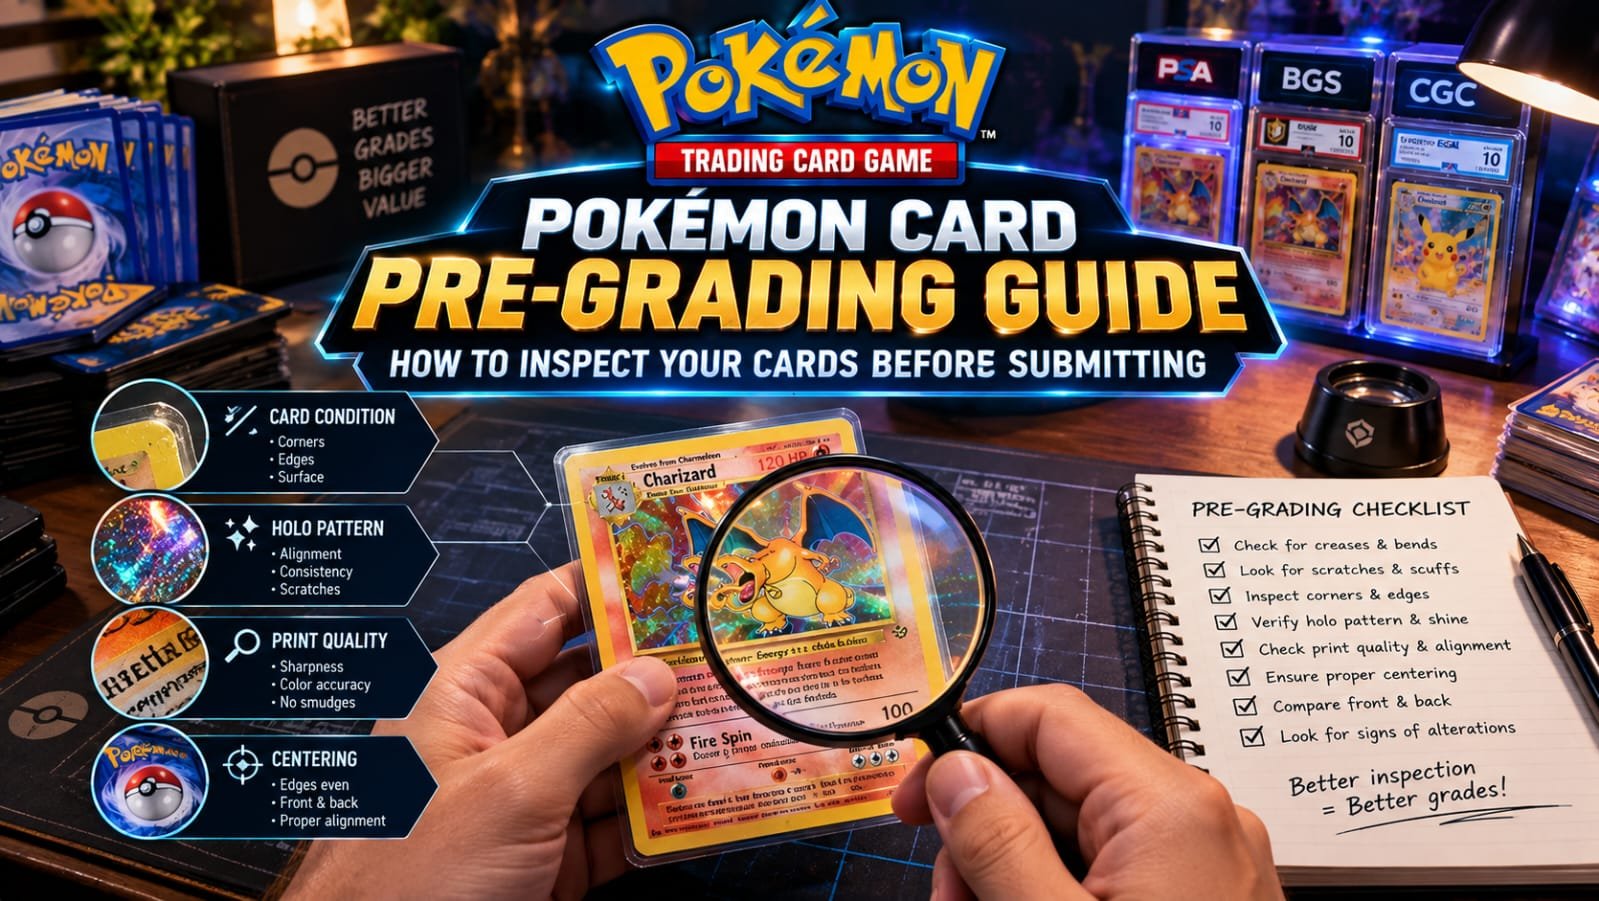
Submitting your raw Pokémon cards to grading companies like PSA, BGS, or CGC can significantly increase their market value. However, grading fees can quickly add up if you submit cards with hidden flaws. Performing a detailed pre-grading inspection at home is the best way to ensure you only submit candidates with high Gem Mint potential.
1. The Four Crucial Grading Standards
Professional grading scale evaluations rely on four core sub-grades. Missing even a minor imperfection in any of these categories can drop a card from a PSA 10 Gem Mint to a PSA 8 or lower:
| Grading Criteria | Key Inspection Focus | Essential Inspection Tool |
|---|---|---|
| Centering | 50/50 front ratio (60/40 allowed for PSA 10) and 75/25 back ratio. | Grading Centering Tool / Ruler |
| Corners | Check for whitening, soft edges, dings, or subtle fraying. | 10x LED Jewelers Loupe |
| Edges | Inspect for silvering (foil exposure), chipping, or rough factory cuts. | Blacklight / Microfiber cloth |
| Surface | Examine texture alignment, print lines, scratches, and micro-dents. | Direct Angled Desk Light |
Corner Whitening and Edge Wear: Vintage vs. Modern Expectations
Evaluating corners requires different mindsets depending on the era of your Pokémon card. For vintage sets (like Base Jungle or Fossil from the late 90s), minor microscopic chipping on the rear corners is sometimes tolerated by grading companies due to the cutting technology of that decade, occasionally still allowing a PSA 8. However, for modern ultra-modern sets (Sword & Shield, Scarlet & Violet), collectors and grading scales are merciless. Any hint of white cardstock showing through the blue or grey backing border immediately signals wear, dropping the card straight into PSA 7 or lower territory. Use a 10x jewelry loupe to inspect all four corners front and back, paying close attention to the delicate right angles where factory cutting blades frequently cause micro-fraying.
2. Essential Pre-Grading Tools Checklist
Before making a submission decision, prepare a clean, dust-free workspace along with these low-cost inspection tools:
- Microfiber Cloth: Softly wipe away surface fingerprints and dust particles (never rub textured holos aggressively).
- LED Desk Lamp & Magnifier: Bright, angled light reveals hidden surface denting that is invisible under standard room lighting.
- Semi-Rigid Card Holders & Penny Sleeves: Always sleeve your inspected cards immediately in high-clarity penny sleeves before slipping them into semi-rigid holders.
3. Common Factory Flaws to Watch Out For
Freshly pulled pack-fresh cards are not guaranteed Gem Mint copies. Modern Pokémon TCG sets frequently suffer from specific factory issues, including horizontal print lines across holographic patterns, poor top-to-bottom centering, and corner whitening straight out of the foil wrapper.
Deep-Dive: Understanding Print Lines and Factory Roller Marks
One of the most heart-breaking discoveries for collectors is finding a faint horizontal or vertical “print line” across a freshly pulled Ultra Rare or Secret Rare card. These lines occur during the foil stamping process when manufacturing rollers leave microscopic pressure marks on the holographic layer. Under normal room lighting, these flaws are virtually invisible, which is why collectors often send cards off with high expectations only to receive a disappointing PSA 6 or PSA 7 due to surface damage that originated straight from the booster pack.
To catch these hidden defects before wasting money on grading fees, hold your card at a strict 45-degree angle under a high-intensity LED desk lamp. If light reflects evenly across the foil without bending or breaking into a linear shadow, your card’s surface integrity is safe for submission. Furthermore, pay close attention to back-side whitening—often caused by dull cutting blades at regional printing facilities—which instantly disqualifies a card from achieving the coveted Gem Mint 10 tier.
The Hidden Danger of Surface Dents and Pressure Marks
While light scratches and minor foil lines can sometimes slip by with a PSA 8 or PSA 9 grade, a surface dent is an absolute dealbreaker for any card aiming for a high score. Dents are often caused by careless handling, pressure from binder rings, or stacking heavy items on top of storage boxes. Unlike flat scratches that only affect the reflective coating, a dent physically indents the cardboard stock, creating a depression on the front that pushes through to the back of the card. When inspecting under an angled light source, run your clean index finger very gently across the surface (only if fully protected or using extreme care) to feel for microscopic dips. Even if the corners and centering are pristine, a hidden binder dent will automatically cap your card at a maximum grade of PSA 5 or PSA 6, making pre-inspection vital before paying grading tiers.
Pre-Grading Decision Matrix
If your card exhibits flawless centering, clean edges, zero surface scratches, and perfect corners under magnification, it is an ideal candidate for express grading tier submissions. Always hold back cards with noticeable surface creases or severe centering off-ratio for raw binder collections.
Submitting Raw Modern Cards: Cost-to-Value Economic Analysis
Before submitting any raw Pokémon card to grading companies like PSA, BGS, or CGC, you must run a strict cost-to-value economic analysis. Grading fees, shipping, insurance, and return shipping costs can quickly accumulate, often ranging between $15 to $50+ per card depending on the service tier. If a raw card is currently valued at $20 on the open market, paying a $25 grading fee only makes financial sense if you are mathematically certain the card will secure a Gem Mint PSA 10, which might skyrocket its value to $150+. If your pre-grading inspection reveals a minor flaw that limits the card to a PSA 8 or PSA 9, you will likely lose money on the transaction. Smart collectors only send cards where the projected PSA 10 value multiplies the raw cost by at least 4x or 5x.
The Final Verdict: Safe Storage and Secure Packaging for Transit
Once you have successfully completed your pre-grading inspection, verified your card’s centering tolerances, and confirmed zero surface scratches, proper handling is required right up until the moment it enters the submission box. Always place your inspected card inside a high-clarity loose-fitting penny sleeve, and then slide it carefully into a semi-rigid card holder (such as a Cardboard Gold Graded Card Sleeve or Card Saver I). Avoid standard rigid toploaders for grading submissions, as third-party grading authorities like PSA and BGS explicitly prefer semi-rigids because they allow evaluators to extract the card safely without risking corner damage.
By following this rigorous pre-grading workflow—from evaluating the four core pillars to utilizing proper lighting and secure holders—you dramatically increase your statistical odds of maximizing your card’s market value and protecting your investment portfolio for the long term.
Mastering Environmental Conditions During Pre-Grading
The environment in which you inspect your Pokémon cards plays a surprisingly large role in accurate grading. Always perform your pre-grading sessions in a clean, dust-free room on a smooth, non-abrasive surface, such as a fresh playmat or a dedicated grading workstation. Avoid inspecting cards in humid environments or under direct outdoor sunlight, as excessive humidity can cause microscopic warping of the cardboard stock, while intense UV rays can mask or distort subtle surface discolorations. By treating your pre-grading routine like a professional laboratory process, you eliminate costly mistakes, protect your valuable collection portfolio, and ensure every submission maximizes its true potential in the grading slab.